Click on any of the images to view a full-screen version!

Illions Painting Step-by-Step

In order to paint an animal, the surface goes through a many transformations. Here are a few of the different steps to illustrate the process. This Illions horse was sold at auction in park paint.


blah

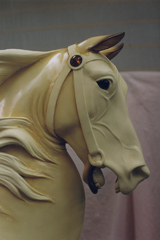
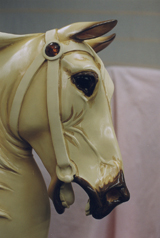
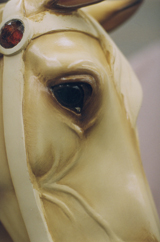
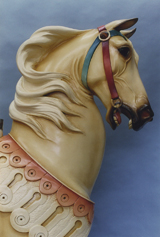
After the park paint is stripped off, the wood is restored back to look as it did when it came from the factory. This can involve many processes: re-gluing laminations, re-dowelling joints, building up areas of wear, replacing dry-rotted wood, carving missing parts, removing non-original metal (screws, metal fasteners, nails, etc), and finally sealing, sanding and priming the surface. Here is the same animal, after wood repairs and priming have been completed.


blah

Painting is simply used to accent the carving- which is really what these creations are all about. Two to three colours of artist’s oils are custom mixed on a palette and brushed on by hand. Here, the neck, chin and ears have been painted and blended smooth.


blah

The paint is applied in specific areas with small brushes. The darkest paint is placed around the eyes and the nose (the “points”) and the medium is used to shadow the bridle edge and the veins on the face. The lightest is the background, or skin colour.


blah

Using a stiff fan brush, the delineation between the dark and the light paint is softened to a flawless blend, then smoothed with a soft fan brush to erase any brush strokes.


blah

Once the body coat is completed and has dried, colour is then applied to the trappings.


blah

Here is the finished head with gold leaf gilding on the mane and trapping accents.


blah

The finished Illions- ready to ride!


blah